Showing posts with label charlotte's dream. Show all posts

Wednesday, April 8, 2015

April Projects by Melinda Thompson


Hi everyone :)

I have two new projects to share with you today using lots of gorgeous Blue Fern Studios products.
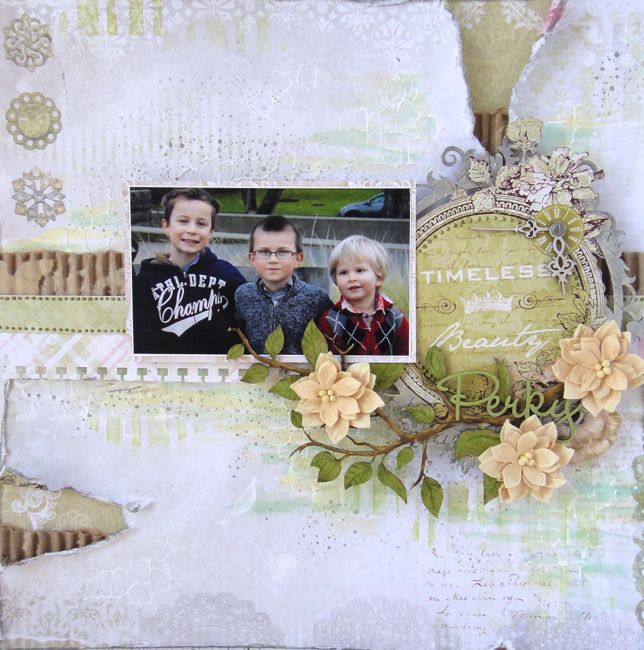
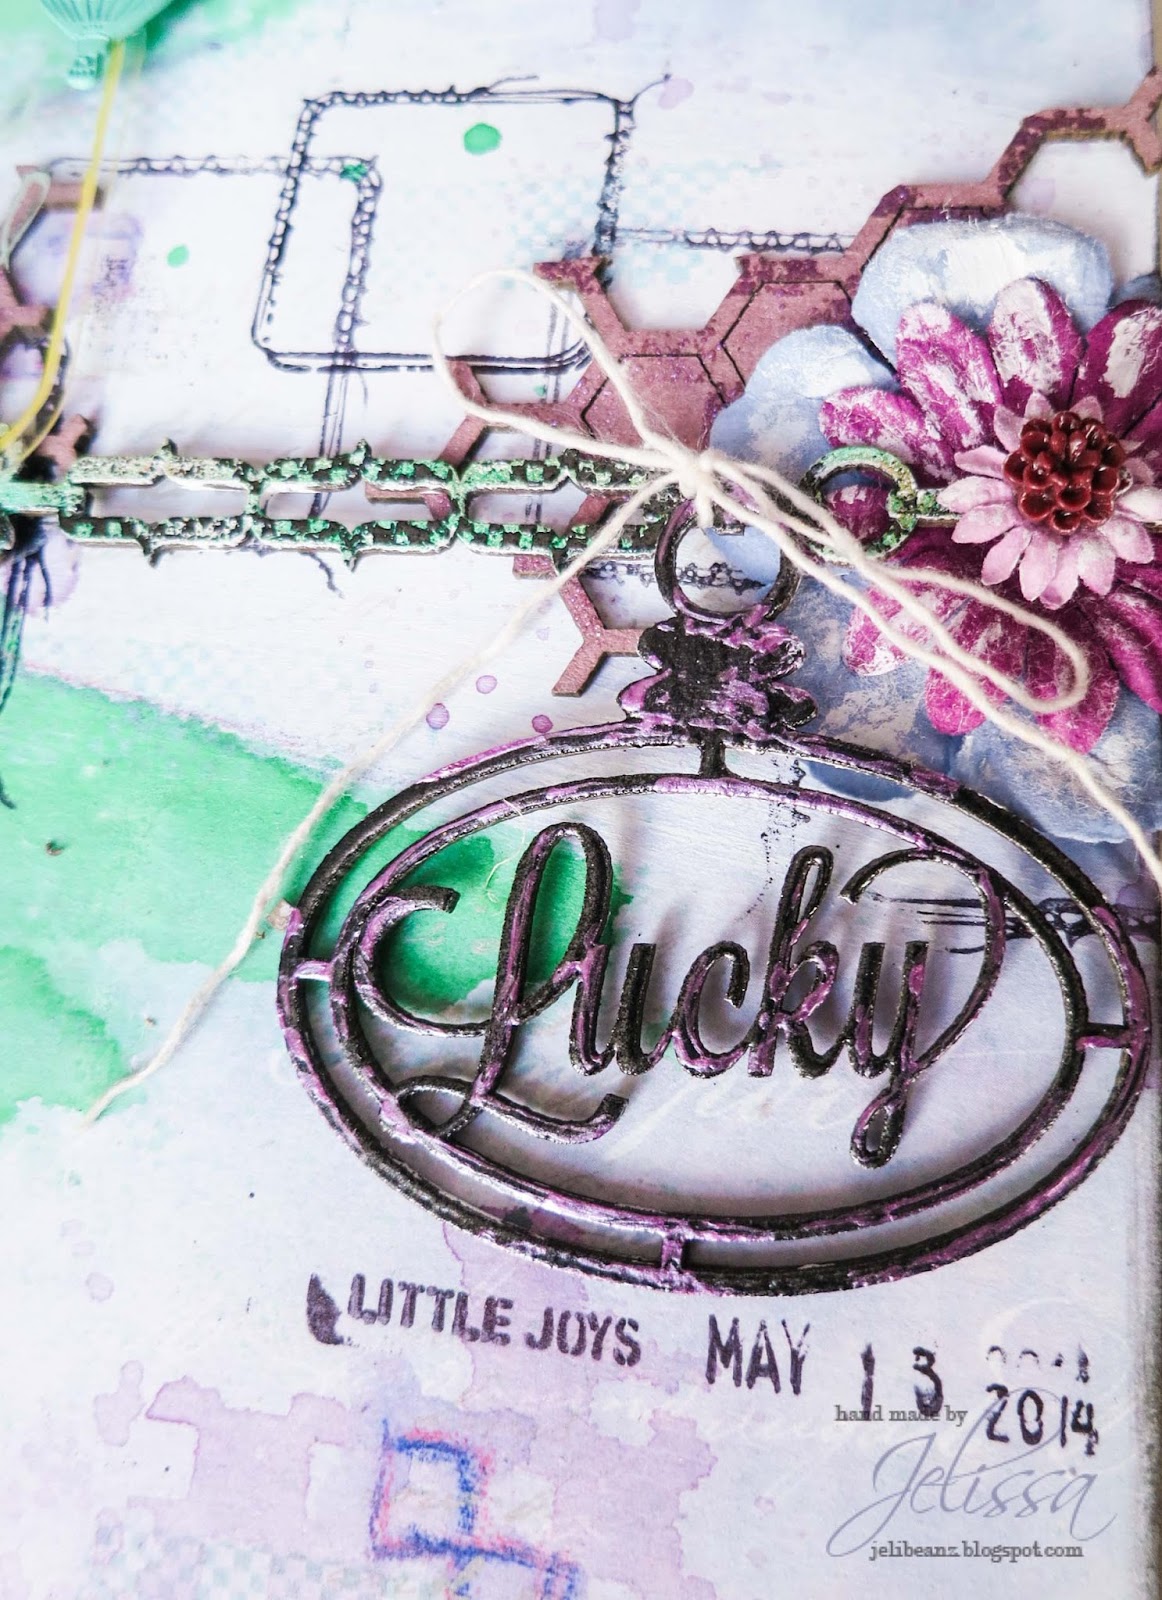
For my 1st layout I have chosen to use some Ombre Dreams papers...so so gorgeous! I have used Charlotte's Dream as the background paper with the Calling Cards as my layers.

"Baby Blues"


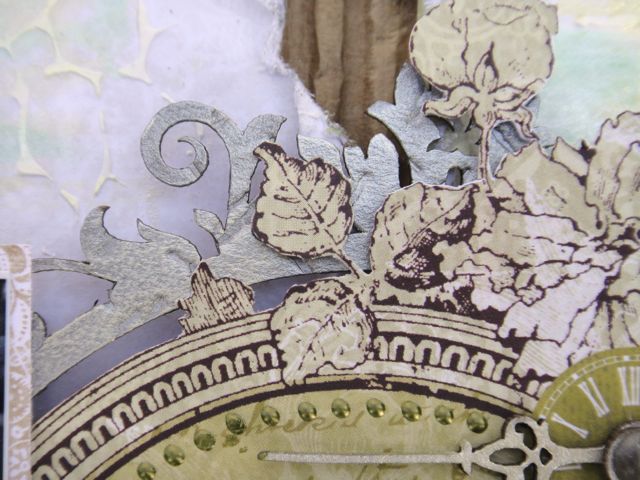
I have used the Roman Clock Set - Small and teamed it up with the gorgeous Tattered Butterlies and the word Baby from the Baby Words Set.


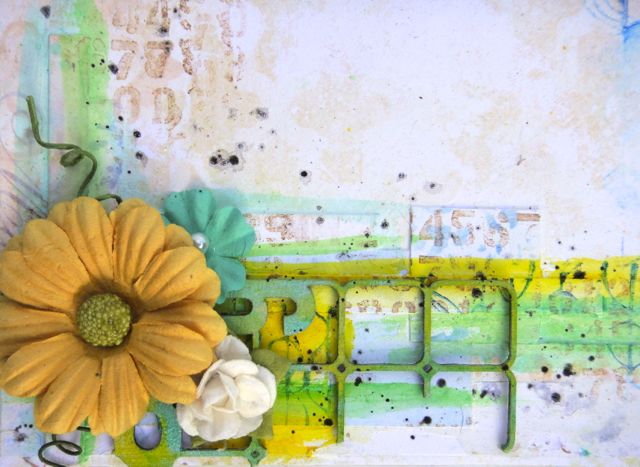
I have used lots of mists and inks to blend and tone my chipboard peices in to the colours of my photo and papers.


Products Used:
Paper: Omber Dreams - Charlotte's Dreams & Calling Cards
Chipboard: Roman Clock Set - Small, Tattered Butterflies, Baby


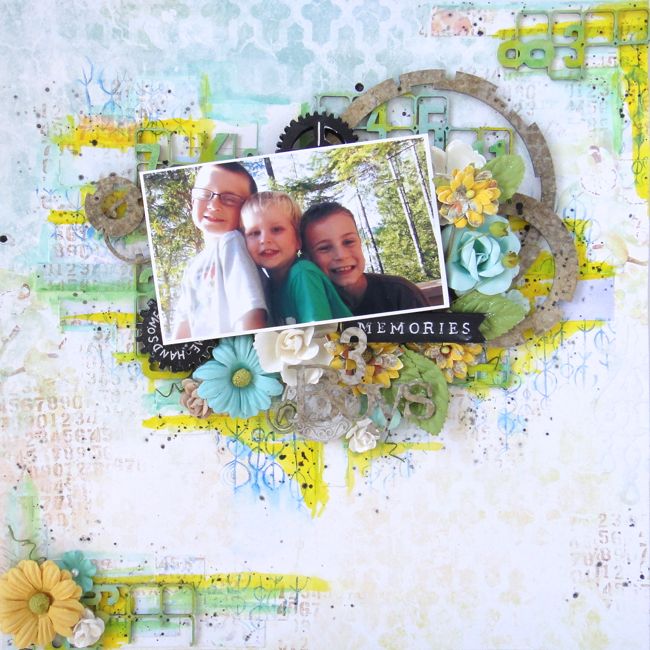
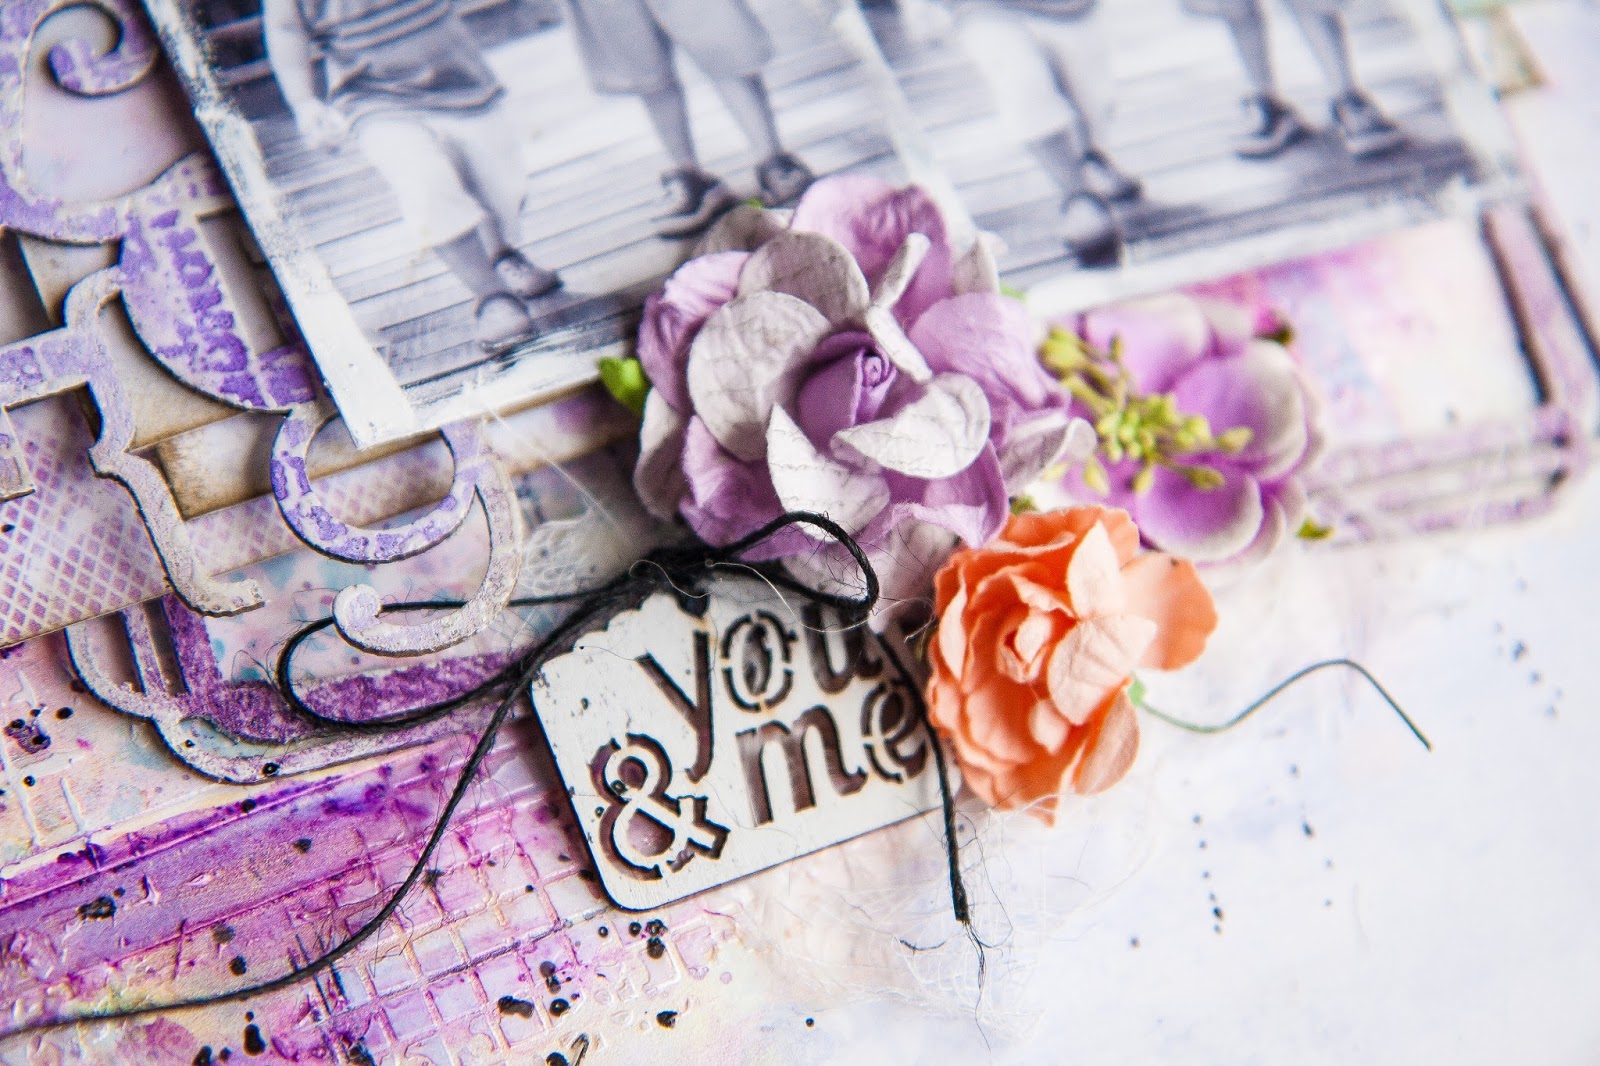
My 2nd project I decided to start with a plain white sheet of cardstock as I wanted to use the Number Grid - Large to be the focus of my layout.

"Smile"


Paper layers behind the photo are from the Sanctuary Collection.  I love that saying that is found on one of the Calling Cards.


I love these peices of chipboard from the Picture Perfect Collection..they are perfect for a fun layout.  I have again used many mists and inks with water to push the colour around on the chipboard.


Products Used:
Paper: Sanctuary Collection
Chipboard: Number Grid - Large, Smile, Picture Perfect, Negatives from the Jumbo Rings Panel


Hope you enjoyed my projects...
See you next month and happy scrapping!
Melinda :)

Monday, February 2, 2015

Dreaming with You & Me

Hello friends!

We are now into the second month of 2015 and it's my turn on the Blue Fern Studios blog today to share my creations with their fabulous products. For today's post, I'm going back to my favourite collection Ombre Dreams.

Here is the layout I made of my two boys (who else?):


As usual, layering different BFS chipboard pieces and papers from the Ombre Dreams collection. As you watch the video, you would also have noticed that I changed the order of my workflow. Instead of working on the background first, I am now starting with the chipboards then my layers, so that I can use that bit for working out the best way to create the background. 

Some close-ups:


And here is my start-to-finish video:


Blue Fern Studios products used:

Ombre Dreams papers - Joyce's Dream, Charlotte's Dream, Dream Cards, Shannon's Dream
Chipboards - Graduated Squares, Printer's Bits


That's all I have for today, thanks for dropping by!

love,

Thursday, October 23, 2014

Video Tutorial with Adrienne Ford

Hello Everyone! 

Adrienne here, stopping in for a share of my latest video for Blue Fern Studios! I was incredibly inspired to create with this photo of my son. I always love adding a little bit of playful interaction between photo and chipboard mixed in with some seriously bold color. I really love how the Grunge Shooting Stars are placed as if they are shooting from his back. The colors I have added to this are bold and vibrant. They add so much to the already gorgeous chipboard!

So go get your brightest acrylics and sparkles and get ready for my October Video- Smile!


Blue Fern Products-

Grunge Shooting Stars
Seeing Stars
Arrow Words
Ombre Dreams: Charlotte's Dream

Thanks for stopping in!!! :)

Sunday, August 10, 2014

Jackie's August Creations

Hello Blue Fern Fans! Jackie with you today to share my August creations with you.

We are experiencing an amazing summer here on the West Coast of Canada, and the long, hot, sunny days, and the sunshine and blue skies inspired the colours for this first layout.


One of the things I love about Blue Fern's panels is the ability to cut them apart into pieces that I can spread throughout my layouts. For this layout I started with the Number Grid Small, which I primed with Gelatos then coloured randomly in blue, yellow and mint green, and cut apart into one big piece to back my photo and two smaller pieces for my corners.


These little bits look good embellished with flowers or just on their own.


On both of my layouts this month I've layered on several layers of chipboard. Because chipboard is so lightweight and can be altered in so many ways, it is easy to make a striking composition using several different pieces. On top of the Number Grid I placed some of the Techno rings. To get the water-stained effect, I first sprayed the rings with a couple colours of brown mists, then stamped overtop with a number stamp.


For my last layer, the title, I cut one of the 3s out of the Number Grid and cut the "Boys" from the Boys Will Be Boys chippy.


Blue Fern Studios Products

Ombre Dreams papers: 
- Ginger's Dream
- Charlotte's Dream
- Susan's Dream
- Shannon's Dream

Blue Fern Studios Chipboard:
- Number Grid Small
- Techno Rings
- Boys Will Be Boys

My second layout has a softer palette, inspired by the colours in my photo.


I started by adding some texture to the background inspired by the printed images on the paper with paint, texture paste and stamping. I love how multilayered the images on the papers are - it makes it so easy to add custom background work.


 For this layout I also layered multiple chippies. The top layer is the word "Perky" from The Optimist Words set, which I treated simply with green chalk ink.


 The next layer is the Spring Branch, which I painted with several colours of chalk ink to create dimension for the bark and leaves before adding a couple of flowers.


My last layer is the Floral Clock. I fussy cut the "Timeless Beauty" section from a second sheet of Timeless paper, and used the clock hands from the Floral Clock to top it off. The Floral Clock itself is behind the paper, providing an ornate frame.


 To add a little dimension to the Floral Clock, I first dry embossed it, then painted it with several colours of metallic paint.


Blue Fern Studios Products

Blue Fern Garden papers:
- Timeless x2
- Picnic
- Calling Cards
- Parlour

Blue Fern Studios Chipboard:
- Spring Branch
- Floral Clock
- The Optimist Words set

Thank you so much for stopping in today. Remember to keep sharing your Blue Fern Studios creations with us - we love to see what you create with our products!

Saturday, August 2, 2014

August Education Video with Jelissa

Hello friends,

today I'm sharing with you a start-to-finish video on making a mini canvas, as well as how to use the gel transfer technique to "print" designs on your favourite Blue Fern Studios chipboard products.


I've used the Tattered Diamond Bits for this project. This technique is suitable for chipboards with more surface as the images or designs you're transferring will be more visible. Some other suitable chipboard pieces would be "Manor Hinges", "Cloudy Skies", "Winter Trees"and "Nifty Tags".
Some close ups:


My mini canvas also made used of left over scraps from my Ombre Dreams papers which I used for layering as well as stamping my sentiment.


Here's the video, and I hope you enjoy it!


Blue Fern products used:

Tattered Diamond Bits
Charlotte's Dream


love,
Jelissa

Monday, July 28, 2014

July's projects from Leila

Hi everyone

Leila's here again to show my 2 layouts for this month, in both I used Ombré Collection...

The first one is in pink, purple and black!


Some details:

Here I painted the title "The big day" with acrilic and spray ink and put some glitter. The "Berry Stems" i painted with distress ink and put liquid pearl in the dots.

The little camera I colored with black pen and put some colorless relief.

Again I colored the film strip with black pen.

BFS supplies:
- Charlotte's dream paper
- Wedding words
- Berry stems
- Picture perfect

My second layout is a "clean" page...


The little flowers I colored with spray ink and put in two corner of photo...in this case, less is more.


BFS supplies:
- Ginger's dream paper
- Bohemian flowers

So this it's for today. I hope you like it!

Tks for stopping by!

xoxo

Leila

Friday, July 25, 2014

July colours with Jelissa

Hello friends!

I'm in today to share two projects I've created for Blue Fern Studios, using the Ombre Dreams paper collection, as well as their beautiful chipboard pieces.

Lucky

My first project is a layout of my two boys. 


I've used Charlotte's Dream from the Ombre Dreams collection as my background paper and added some misting, masking with texture paste and random stamping to further highlight the beautiful watercolor effects already printed on the paper itself. I also used a cut out from Dream Cards as a subtitle.


The "Lucky" chippie from Charmed Page Dangles was cut into two pieces and the word used as my title. I did some heat embossing in black and smeared purple dimensional paint over for highlight. 


The other half of the chipboard was first colored with gelato, followed by some stamping with Versamark and heat-embossing. 


I used only one piece of the Honeycomb bits here, but snipped it into three parts which I layered throughout my page. It was first misted followed by random sprinkling with a mauve-tinted embossing powder.

Blue Fern products used:

Charlotte's Dream
Dream Cards
Charmed Page Dangles
Bits of Honey


All Dressed Up

My second project is a mixed media canvas I made as a birthday gift for a very talented friend who runs her own fashion designing label. 


When I saw the Sweetheart dress form, I knew it was meant for her and there is also a similar mannequin on display in her office reception. 


The chipboard was covered with gesso and I made a dress out of some organza curtain fabric, which I decorated with some tulle and organza roses, aqua sequins and mini paper roses. I also snipped the Majestic Frame in half and covered it with gold glitter.


My little cluster here is full of bits from the Miss Tailor set. I covered the spool with a fine layer of gold shimmer. The buttons I used Liquid Pearls and for the scissors I used my gold textured paste. The other half of the majestic frame is tucked beneath the flowers and also dipped in gold glitter.

Blue Fern products used:

Sweetheart Dressform
Miss Tailor Set
Majestic Frame


That's all I have for today. Do check back soon for more inspiration from the rest of the lovely DT!

love,
Jelissa

Thursday, July 24, 2014

sumertime scrapping

Hello all Blue Fern studios Fans!

Olga here . I'm coming today with 3 layouts I made with using BFS products. All 3 on Ombre Dreams collection . I love it and I can't have enough of it. Perfetly fit me everywhere to feminal and masculine style it is just perfect.

Anyway back to the subject. First work is feminal LO with cat lady .Charlotte's Dream was background of my project.  In composition I use piecies of Dot Grid Panel and  one of Frilly Hearts covered with gesso . As a title I put dreams come true piece


This layout is about summer fun. Those feets belongs to my personal son :) photo was taken on amazing playground after a long day filed with running around, playing pirates and chasing bubbles. I use here last piece of Dot Gird Panel ( one panel I had for 4 works and I still have small piece :) ) I used here also Filmstrip and directions arrows. paper I use here is ginger's dream

On this layout is one of last photos I took in Poland on one of our daily park walks. Yes I know something is wrong with me and making feet photos ;) But I can't stop myself I like them so much . Here Iuse Charlotte's dream as background and made lots of media shadows to better expose my composition. I use piece of awesome small number gird . All black elements are from picture perfect set its awesome set to layouts but also will perfectly fit to any project life projects.